TRAI
ning
Photogrammetry for Divers
Intro
Course
01 What is Photogrammetry
02 What is covered in the Course?
The main components are as follows:
General Background and Concept
- A quick overview of the history of Photogrammetry with a focus on how it has evolved to it's current state and how it is being used in the professional world outside of diving.
101 Software
- We begin with creating a simple model, doing some minor corrections, and completing the process of creating a Solid Textured model which we will publish.
- This will involve basic editing of the point clouds and optimising the textures of the final mesh.
- This ensures that we understand the overall workflow before getting into the in-depth areas.
Diving Process
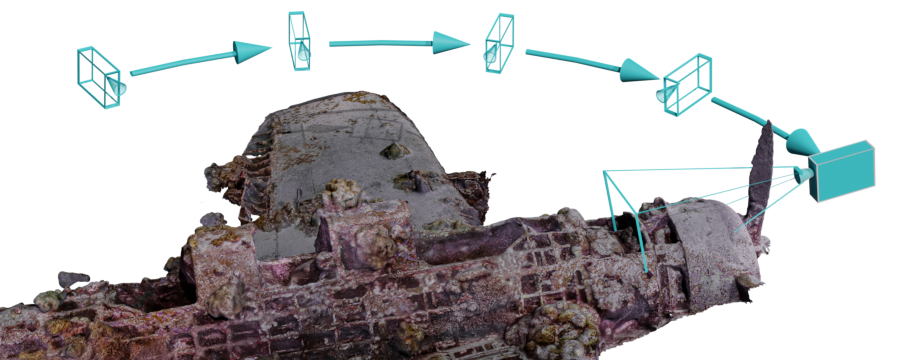
- We then work through a full process of taking the photos in an underwater environment. There are many options and approaches to this – we use animations to clearly illustrate and articulate the benefits and practicalities of each, depending on the conditions, scale and equipment being used.
- This is supplemented with multiple exercises from real examples to build confidence and reinforce the workflow.
Resolving Issues
- Now that we have completed some examples of functioning models, we will work through scenarios where photos do not align.
- There are many methods of approaching this – we will show options for adding points manually (in the pro versions of the software) as well as adding/selecting/masking/grouping photos with ‘chunks’ and other options.
Animation
- As well as uploading the 3D model to Sketchfab to share it with the public, we will also do some initial animation to create videos.
- If time permits, we will show how these can be combined together with external video editing software to produce an overview of the 3D model as an introduction to the 3D Sketchfab experience.
Best Practices, Management & Future Ref
- While project scopes always change, it pays to know the final outcome and to name and store files accordingly.
- Ultimately, there is nearly always a need to reduce the file size of the final model, while maintaining the definition and detail.
- If the project is aesthetic, there is a need to boost the quality of the textures.
- If it is a research project where a particular site is being monitored over time, then the data structure needs to be clearly defined and adhered to.
The contents of this course are intended to provide the opportunity to get started – we will discuss and showcase some larger projects and discuss how to build towards these.
03 Required Hardware
There is a big difference in hardware that will open a small file and run a simple job and hardwar that will process several thousand photographs from a warship. In general, it comes doen to Processing power (CPU), Memory (RAM),Graphics acceleration (GPU) and Hard Disk Swap Space (HDD).
The ideal configuration is to max all of these out, but there is obviously a cost associated so we will outlin a some generic configuration considerations:
- CPU
- Multicore, 64-bit, 2.0+ GHz
- RAM
- 16GB +
- GPU
- 2GB +
- HDD
- SSD - min 15GB free
The software will run on less than this and if the jobs are small, could produce the results if allowed to run for long enough. Ideally though, each of these would be boosted.
Each of the 4 elements is used heavily at different stages of the phorogrammetry process - notice that there is a + symbol after each component.